

Brands and advertisers partner with influencers whose sponsored content represents the product in the best manner possible, and it’s especially true for influencer-created images. When an influencer program includes a product, brands seek polished and professional product photos, as they can be repurposed on their official web pages or social channels.
Taking crisp, well-composed product images is not a natural skill for all, but it can be learned by anyone who wants to improve their content and frequently partner with brands.
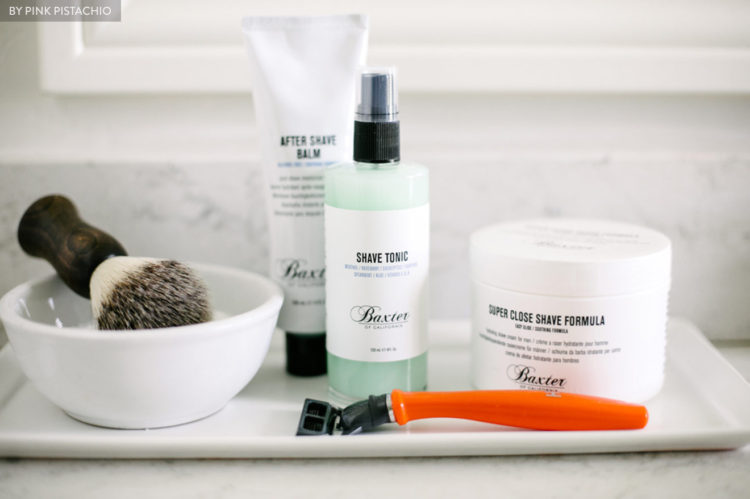
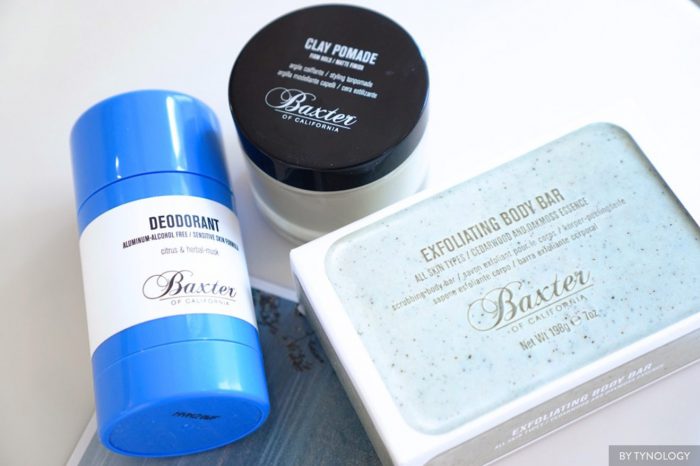
Baxter of California, a line of men’s grooming products from L’Oréal®, recently connected with Linqia influencers to introduce its brand and present its products as a great Father’s Day gift option. The top performing influencers showcased Baxter’s sleek packaging with high-quality product photography. Baxter even repurposed some of the top shots on its Instagram channel.
What’s the secret to shooting product photography? Just ask your fellow influencers. We’ve collected tips from Linqia influencers and accompanied them with great image examples from the Baxter of California program. Keep these guidelines in mind and see your product photography transform from middling to magnificent.
Lighting
Use natural lighting to best capture the small details of a product. A lot of subject detail is a common trait of quality product photos, and Linqia influencers recommend shooting with as much natural light as possible to reveal those details and save on editing time.
Kristen Duke Photography says that the most favorable lighting is the natural light shining through the window because artificial light often carries a blue or yellow hue that necessitates later editing.
“Note a time of day when the room is fully lit, but not full of direct harsh sunlight,” says Busy Creating Memories. Direct light usually washes out your subject, making it hard to see the small features of an image.
“If you have direct sunlight, diffuse it by hanging a semi-sheer white curtain or a white bed sheet from the window,” advises Silver Lining Blog. “You can buy a scrim, which does the same thing. Anything that turns direct sunlight into soft white light does the trick.”
But before you start shooting, don’t forget to turn off any inside lights. “Once I took an entire set of pictures, then discovered they all had a gross yellow tinge,” says Silver Lining Blog. “Why? I forgot to turn off the overhead lights.”
The above image from Tynology demonstrates soft white lighting that illuminates products for a clear, crisp image.
But if the only space in your home with great light isn’t the prettiest place, don’t worry – we cover making your own inexpensive backdrops to make a product pop next.
“Always, always, always, choose light over location,” A Balancing Peach agrees.
Backdrop
Once you’ve found (or made) the best light, use a backdrop to get a uniform background that looks professional and attracts brand attention. For photos with an all white background, use a homemade or storebought “lightbox” to house the products during the shoot. “Build a little box using white poster board,” says A Balancing Peach. “If the boards are placed correctly they will deflect back into the frame and eliminate any shadows.”
You can also use white butcher paper or an ironed white sheet that is pinned to a wall and comes down and a few feet out onto the floor.
If you want something jazzier, it’s easy to create backdrops using simple and cheap supplies.
“Just grab a white foam board, scissors, and a roll of contact paper,” says Sweet Sunny Days. Contact paper comes in many patterns, like marble, granite, and wood. “If you want a specific color, you can get paint samples from the hardware store and go to town,” says October June.
Experiment with different backdrops to find the best compliment to the product packaging and overall brand feel. For example, many Baxter images were shot in bathrooms and on light colored backgrounds that reflected Baxter’s brand aesthetic.
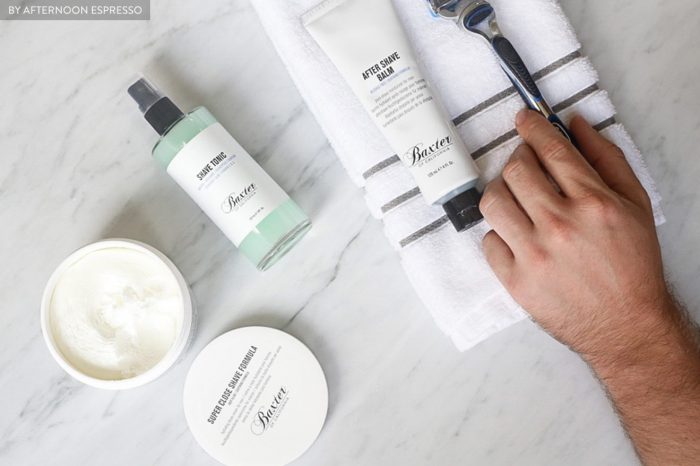
Afternoon Espresso’s image for Baxter used a beautiful marble backdrop and bathroom props like a razor and towel to align the photo with Baxter’s function and color scheme.
Camera Gear and Settings
Use a manual camera instead of a smartphone for the best product images. If you don’t have one, try to borrow one from a friend or rent one online.
Local Adventurer advises that you set your camera’s white balance “so that all the color turns out more consistent.” A consistent color means you save time editing later. If you aren’t comfortable setting your white balance yet, many cameras have an auto-white balance mode that does the adjusting for you.
Also pay attention to your shutter speed, as “it should be 1/160 or faster, so your image turns our sharp,” says Local Adventurer. A fast shutter speed captures those tiny details that make a product shot interesting.
Set your aperture wide to let in as much light as possible while keeping the product in focus. “A wide aperture allows your main focal point to be crisp and in focus with the background blurred or out of focus, creating depth or dimension to the image,” says Kristen Duke Photography. “Distracting elements will be thrown out of focus, drawing the eye into the subject.”
A wide aperture can mean a blurry image if you hold the camera, which is why tripods are essential gear for top-notch product photography. A tripod also lets you get multiple angles, like overhead, to give you an array of image options.
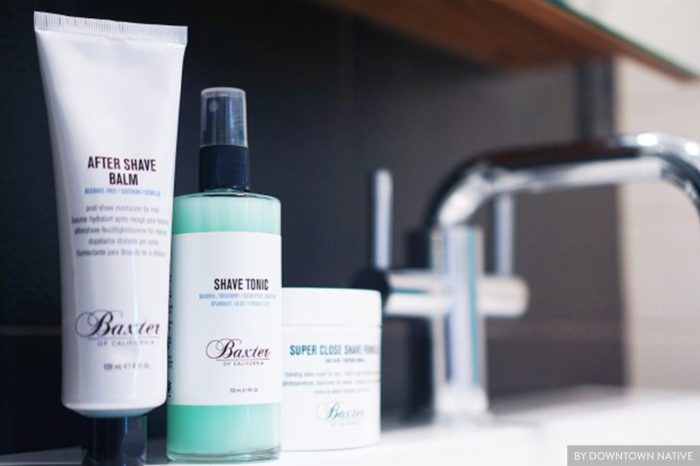
Use an 85mm lens if possible, as its zoom abilities can make a great difference in the quality of your images. “The bokeh, or background blur, from the 85mm is so much more prominent at the same aperture setting,” says Kristen Duke Photography. “It creates much more depth.”
Downtown Native used her lens to “bokeh” or blur the background but keep the product details sharp in the foreground.
Creating beautiful product photography shows brands that you produce valuable content and increases your chances of featuring more great products in the future. Read more photography advice from Linqia influencers on landscape photography or food photos. Share your tips for taking high quality product images on our Twitter or Facebook.


